How to ADD Schema Markup into New Website?
What is Schema Markup?
Schema markup (usually called schema or structured data) is a code of tags or microdata added to your site’s header, body and footer to tell all details of your business, article, and videos to the search engine improve the way search engines read and represent your page in search engine results (SERPs).
Follow the given steps to setup the schema markup in your site?
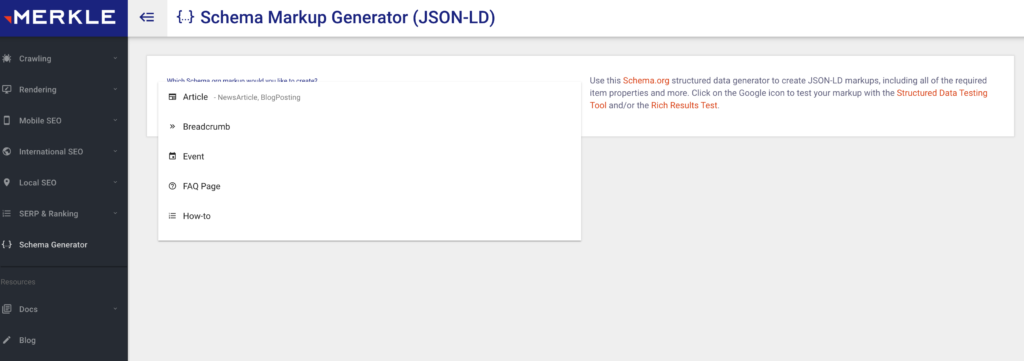
– Go to schema markup generator tool.
– Select your type of schema markup from dropdown.

– For Ex. If you select local business, then fill all fields carefully. Make sure all the info. should be same, Like NAP

– Copy code from right side.
– Now, open validator tool, and paste code for validation

– Run test, it should be error and warning free.
– Now, open your website admin, if you have WordPress website, then go to homepage header, or whole website header, or homepage body section.
– Paste code into code section of header, body and footer (recommended in header).
– Update page
– Now copy page URL where you added the schema code, run schema test again with URL, it should be same error, and warning free.
Recommended Step
Go to search console and inspection the URL for reindexing.
You can use article or Blog post schema on your every blog post in website.
Learn more: Benefits of Using Schema Markup in Website
